How to draw pony princess luna
Hi all! Today we will tell you about how to draw Princess Luna!
Our today's heroine is a sister. Celestia and Luna ruled the cycle of day and night for many years - Celestia was in charge of the day, and Luna was in charge of the night. One day, Princess Luna stopped letting Celestia in, and the sun did not appear in the sky for a long time. After a lot of battles, the sisters reconciled, Luna apologized to Celestia, and peace reigned in Equestria. Let's take our favorite, pencils, start this lesson and find out how to draw pony princess luna!
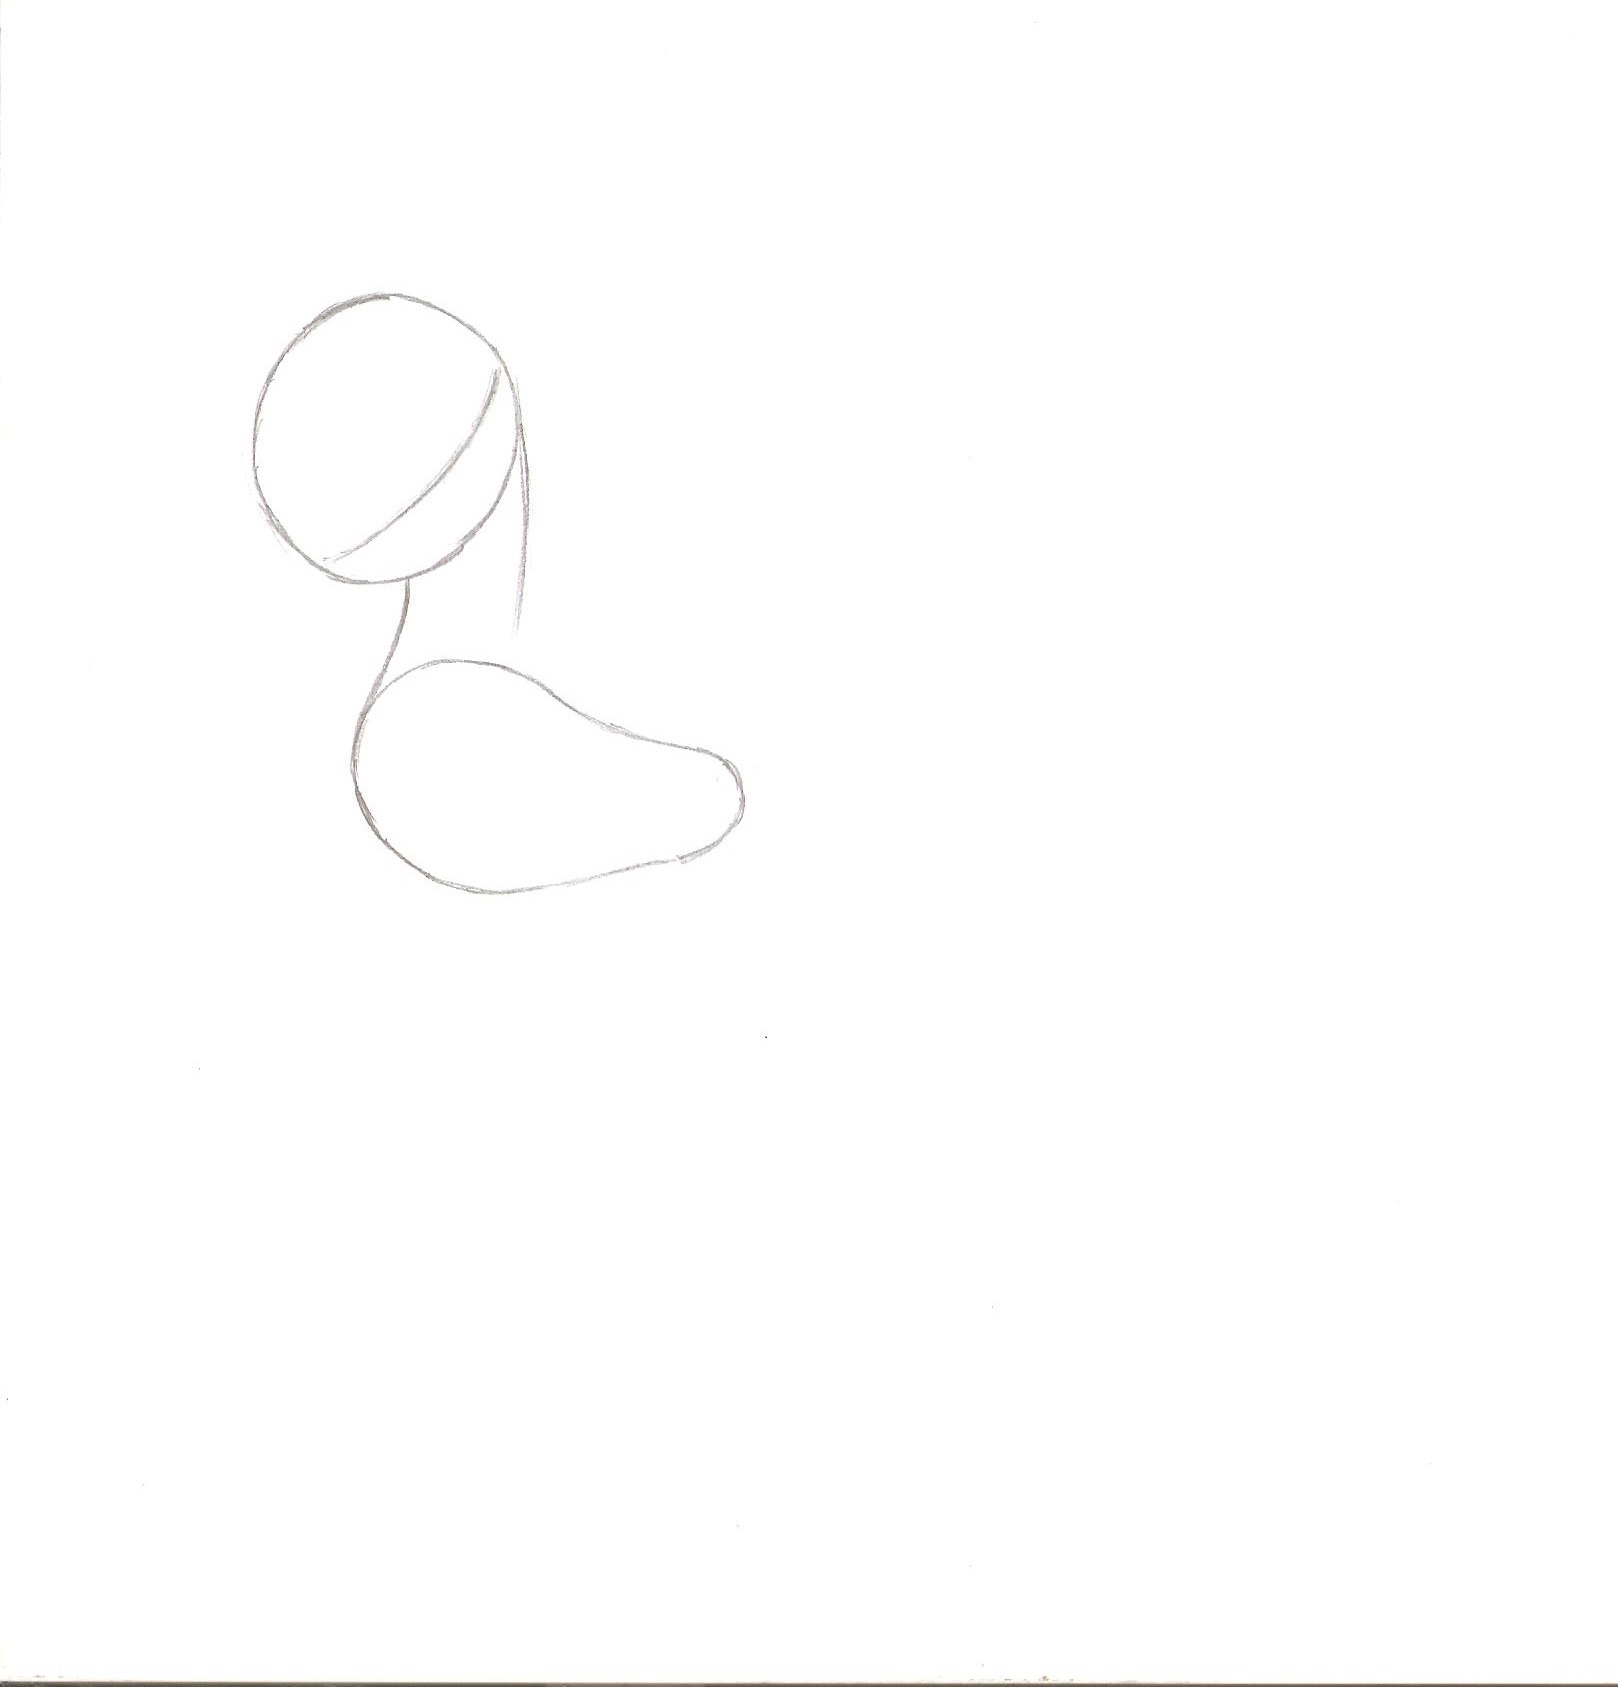
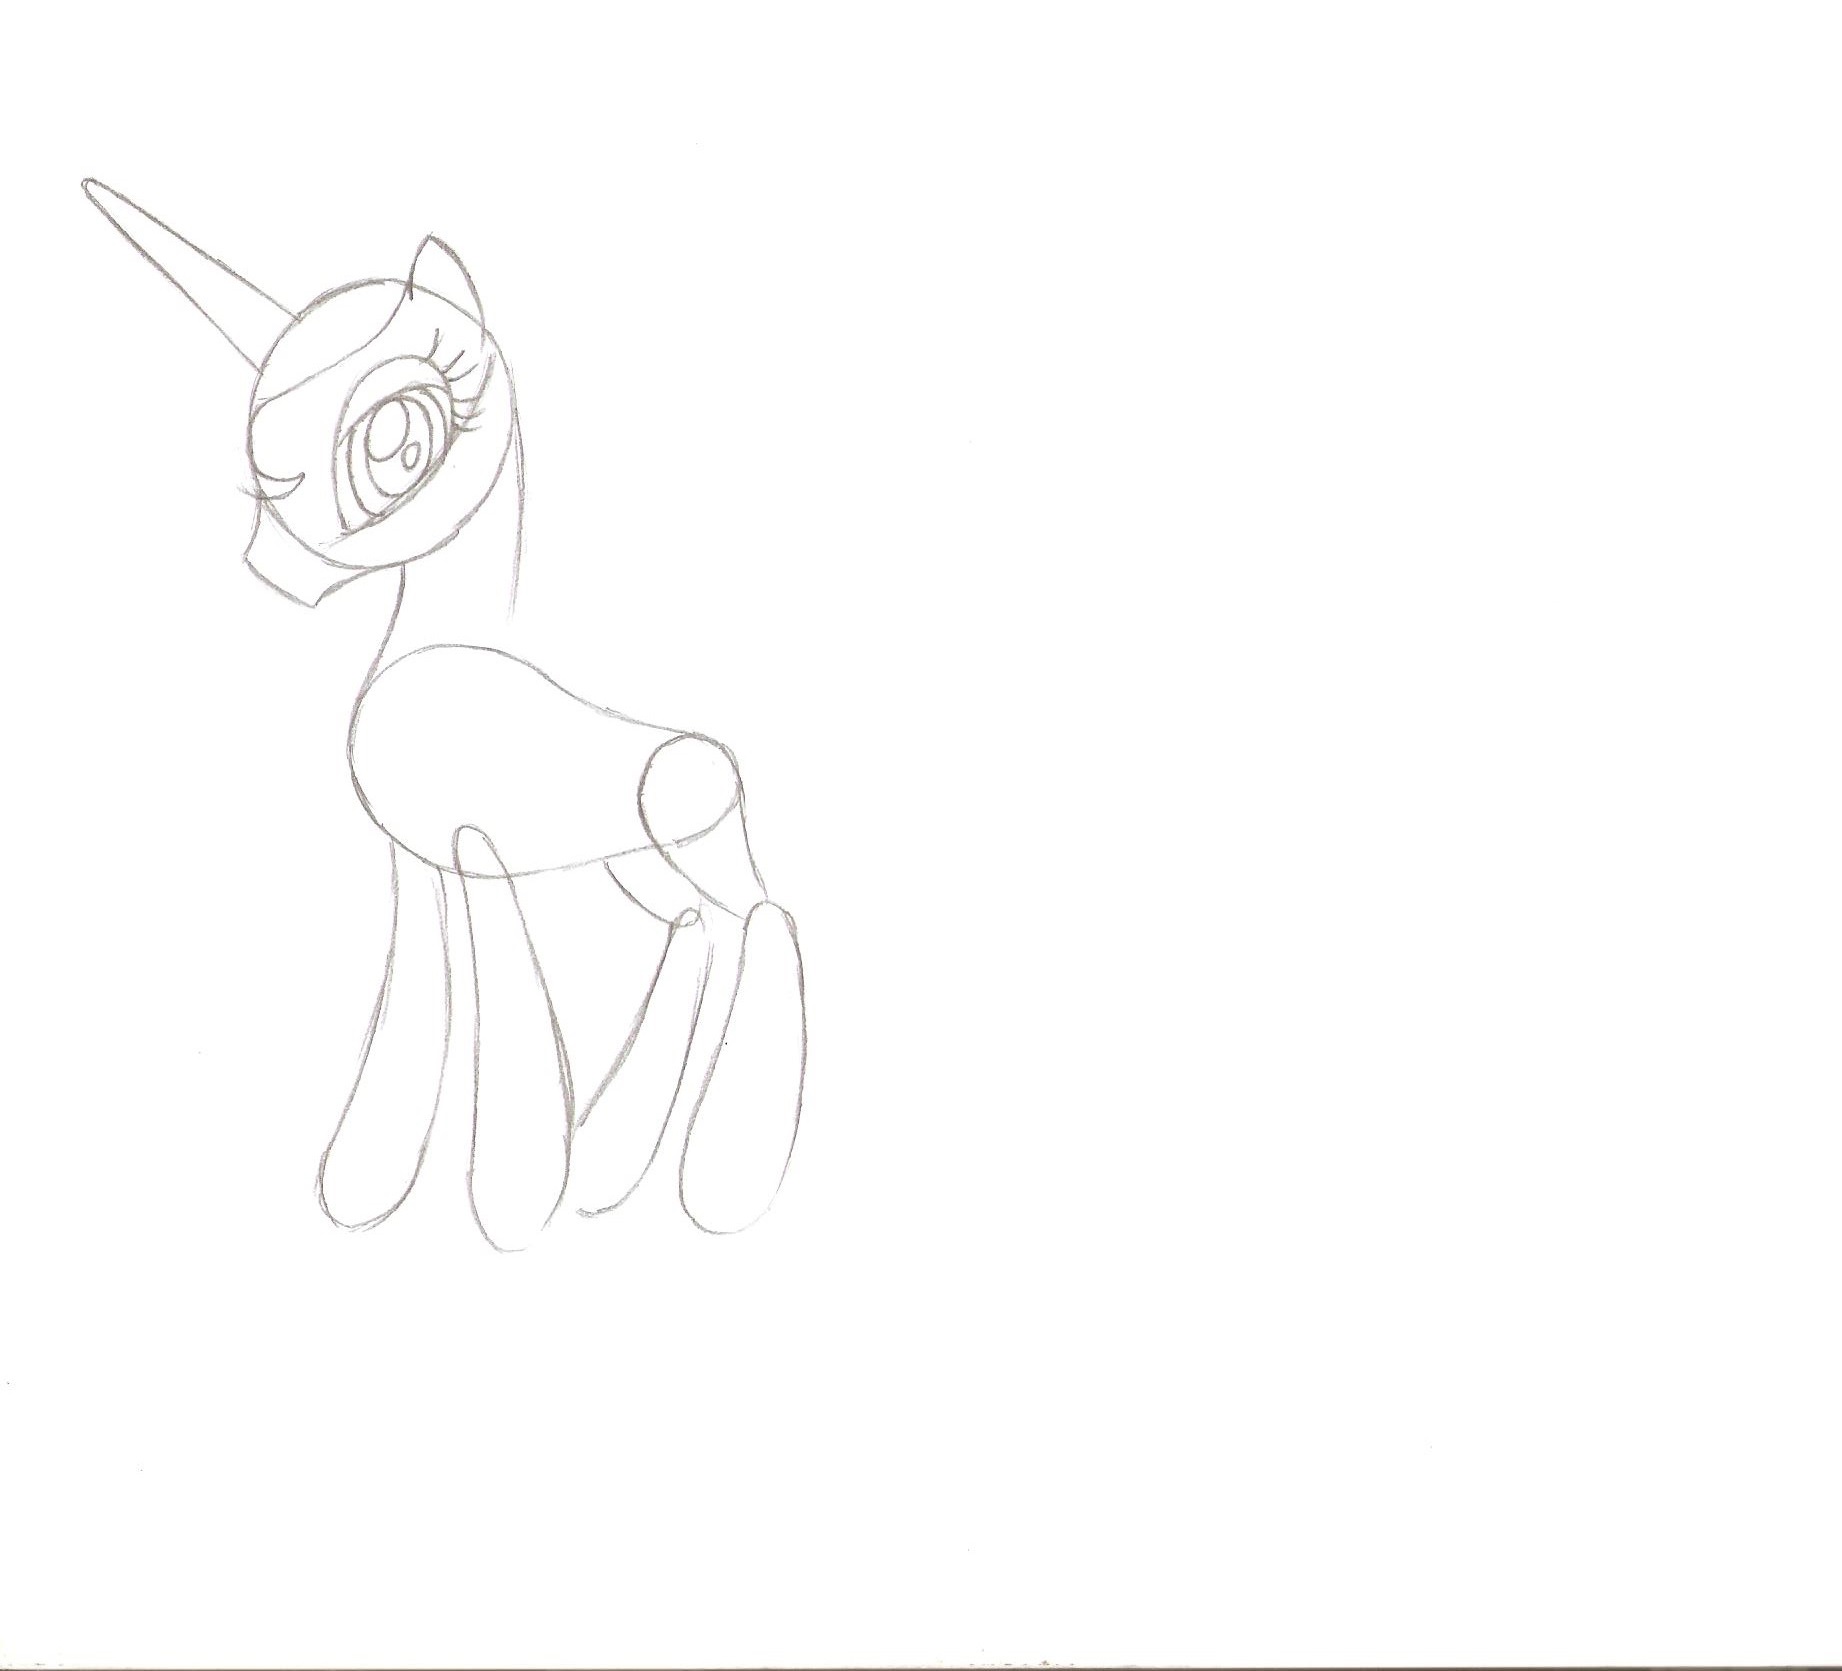
Step 1
Let's draw a circle that will indicate the head, below we place a bean, which we will designate the body of our pony and connect these two figures with a pair of slightly curving lines. At the bottom of the ball, we outline a slightly rounded line, which will help us a lot when drawing the pony's eyes.
Note that lines such as the one showing the location of the eye are guides and are subsequently erased. This means that when working with them, you need to press a little bit so that the lines can be easily and easily erased.
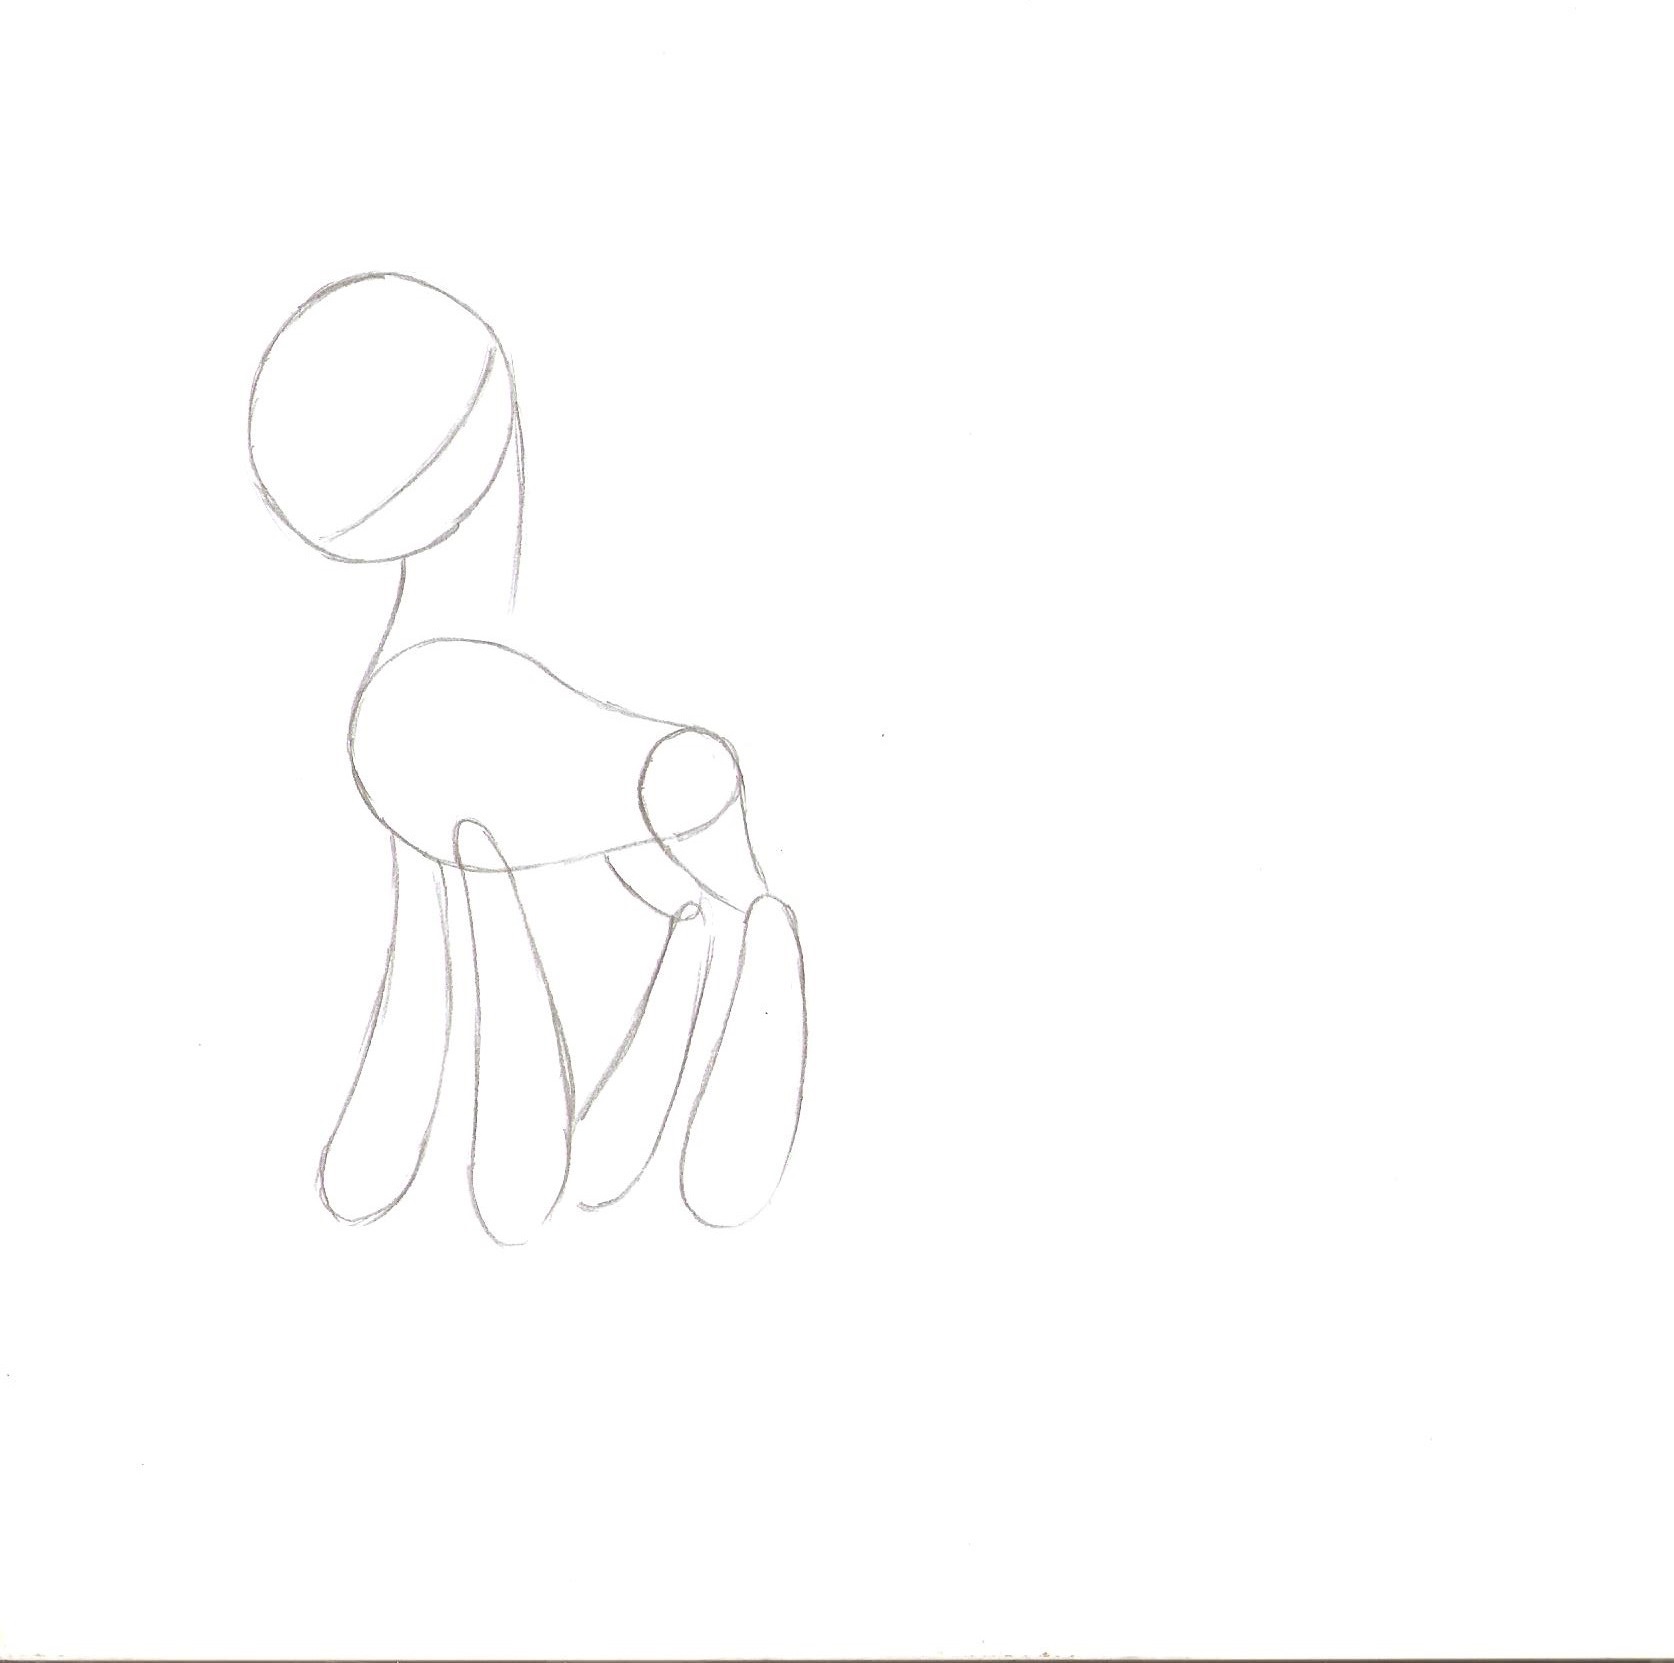
Step 2
Let's draw the contours of the legs of our horse. Each of the front legs consists of one solid rounded figure, which widens considerably downwards. The hind legs have a pronounced composite character - each of them is formed by two figures, with the upper figure expanding towards the body, and the lower one expanding downward.
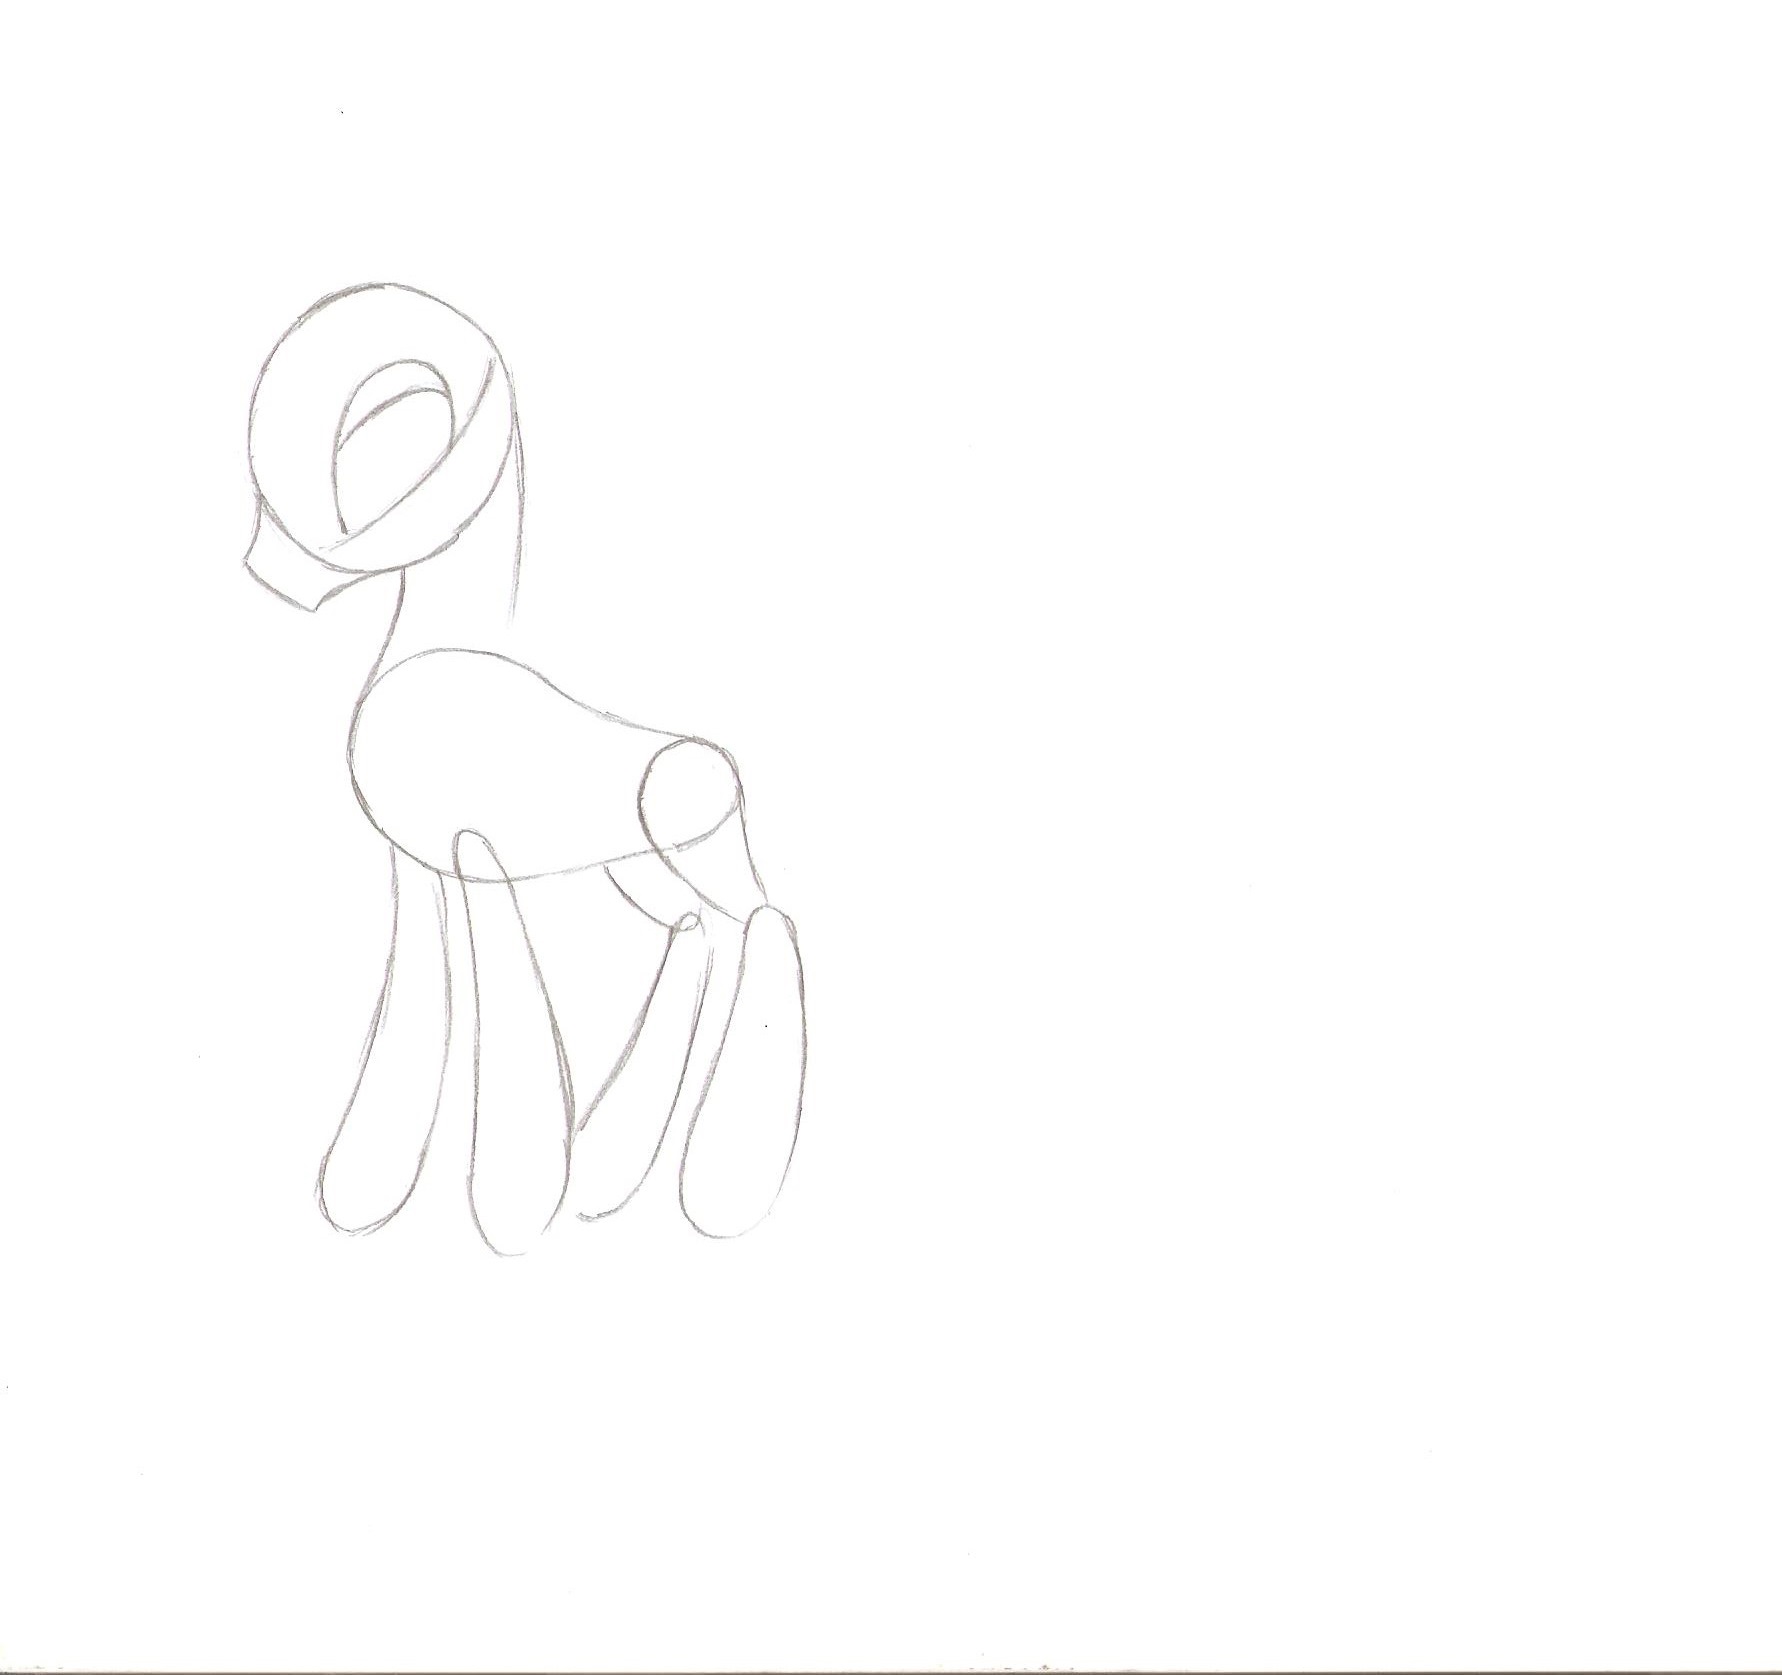
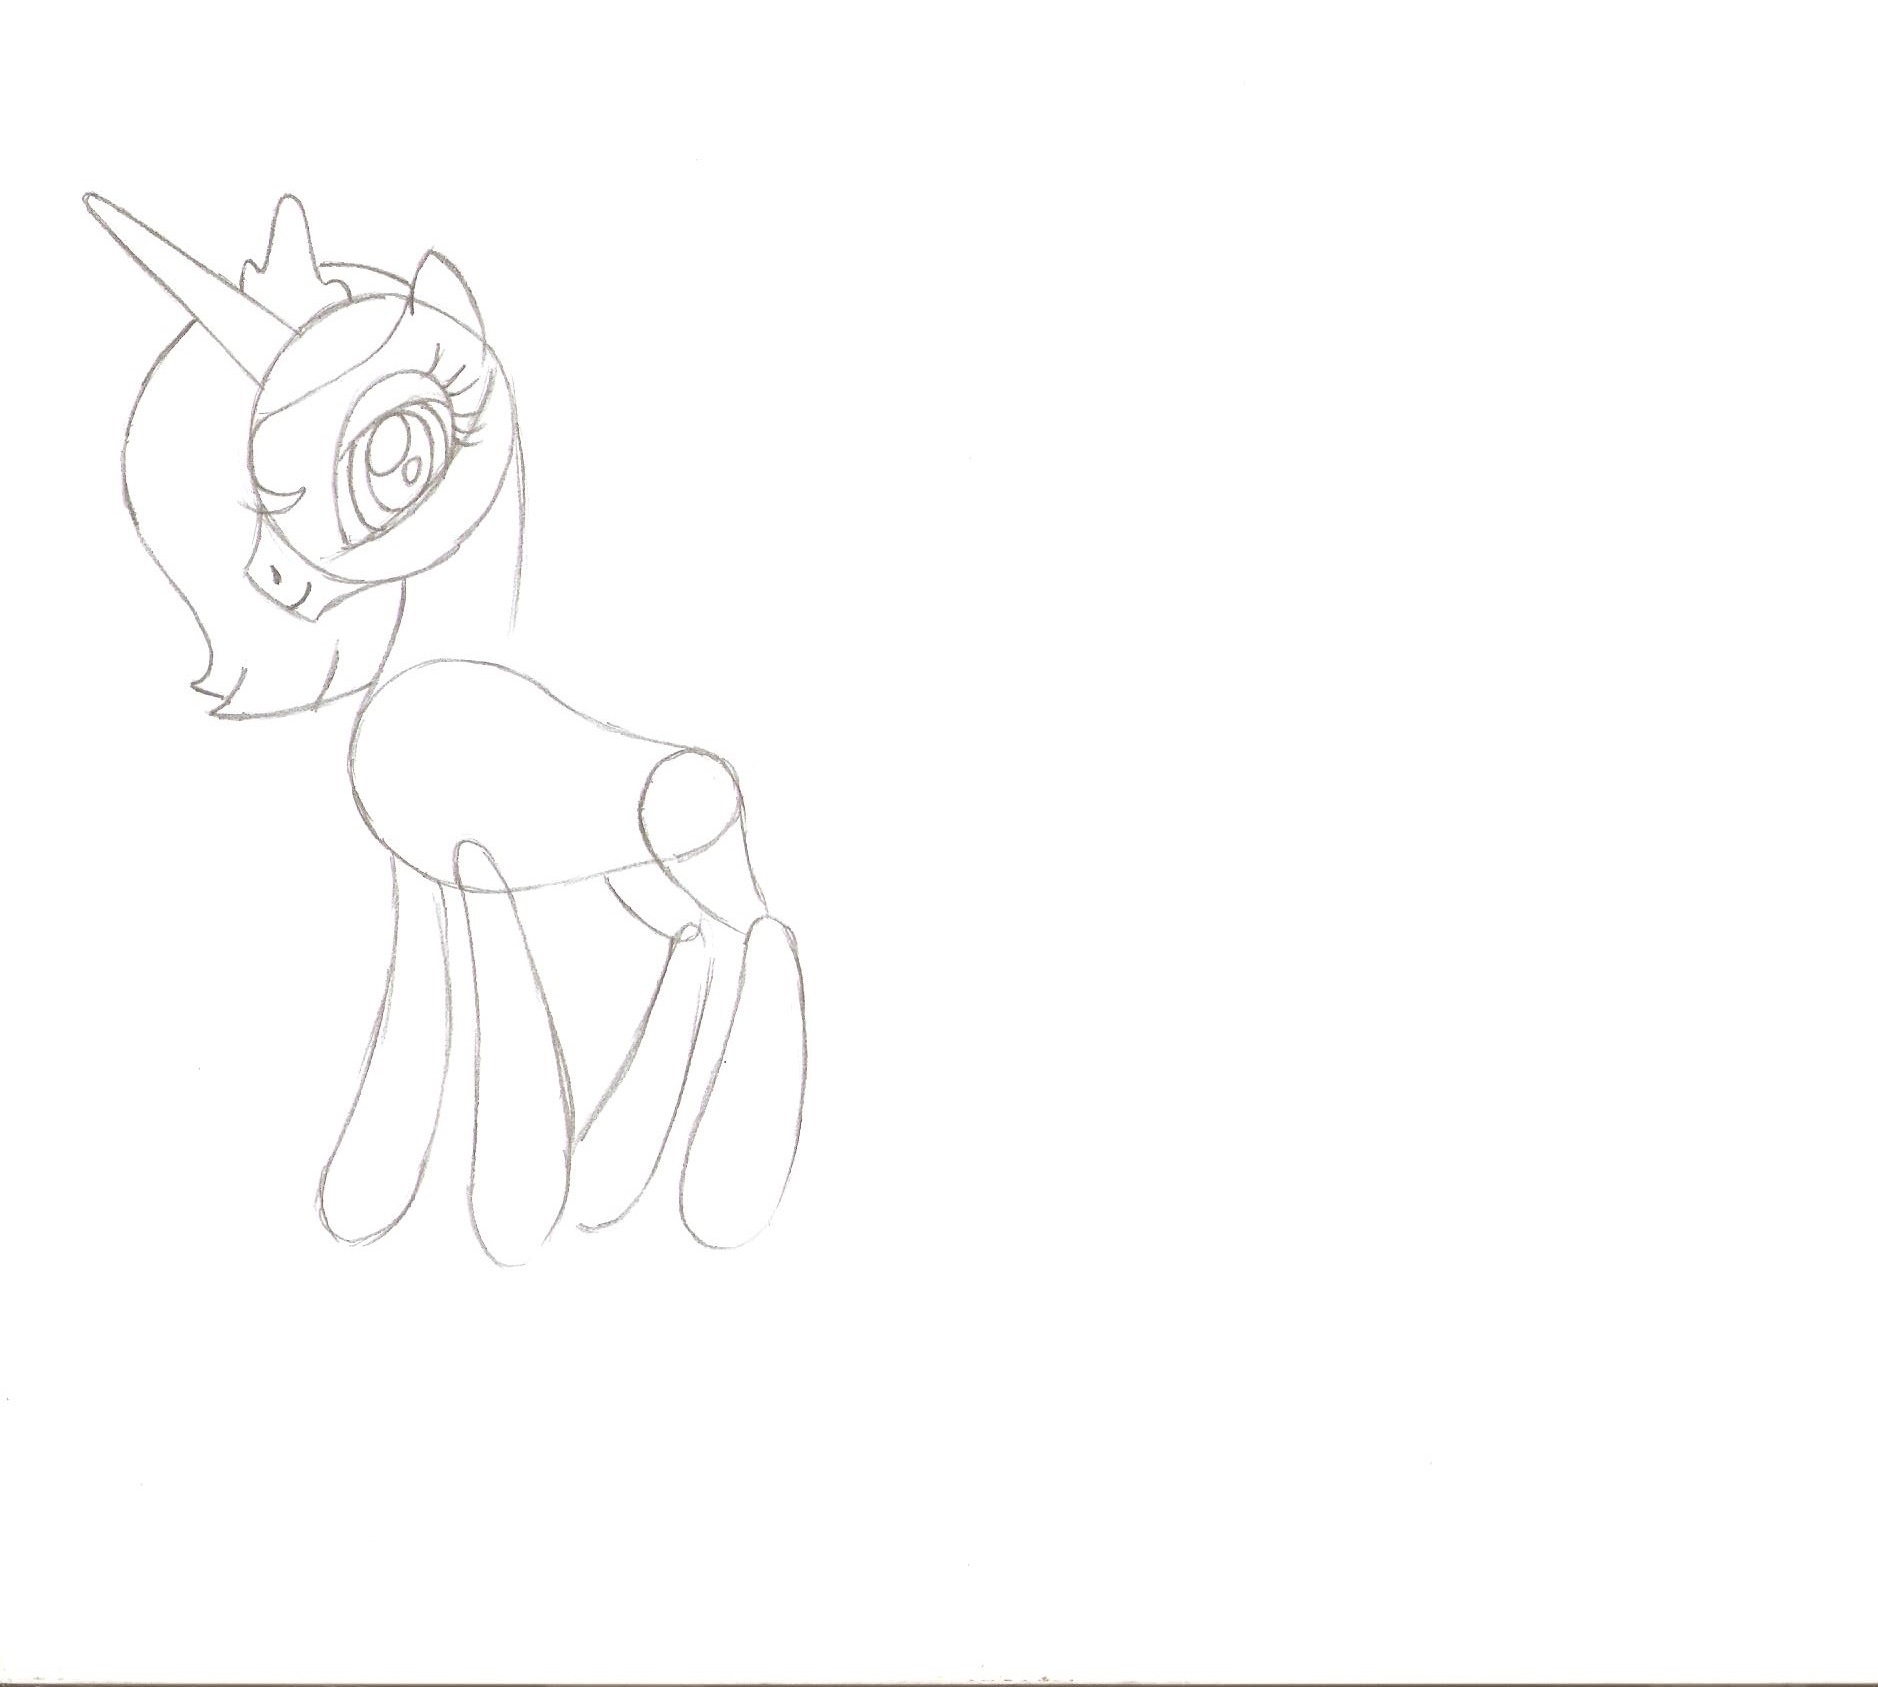
Step 3
Draw an oval of the eye along the outlined line (note that one of its edges, the lower one, should be hidden behind the eye position line). In the same step, we outline the outline of the front of the muzzle. By the way, if you love other heroines of the series "My little pony" (in our country - "pony friendship is a miracle"), you can try and.
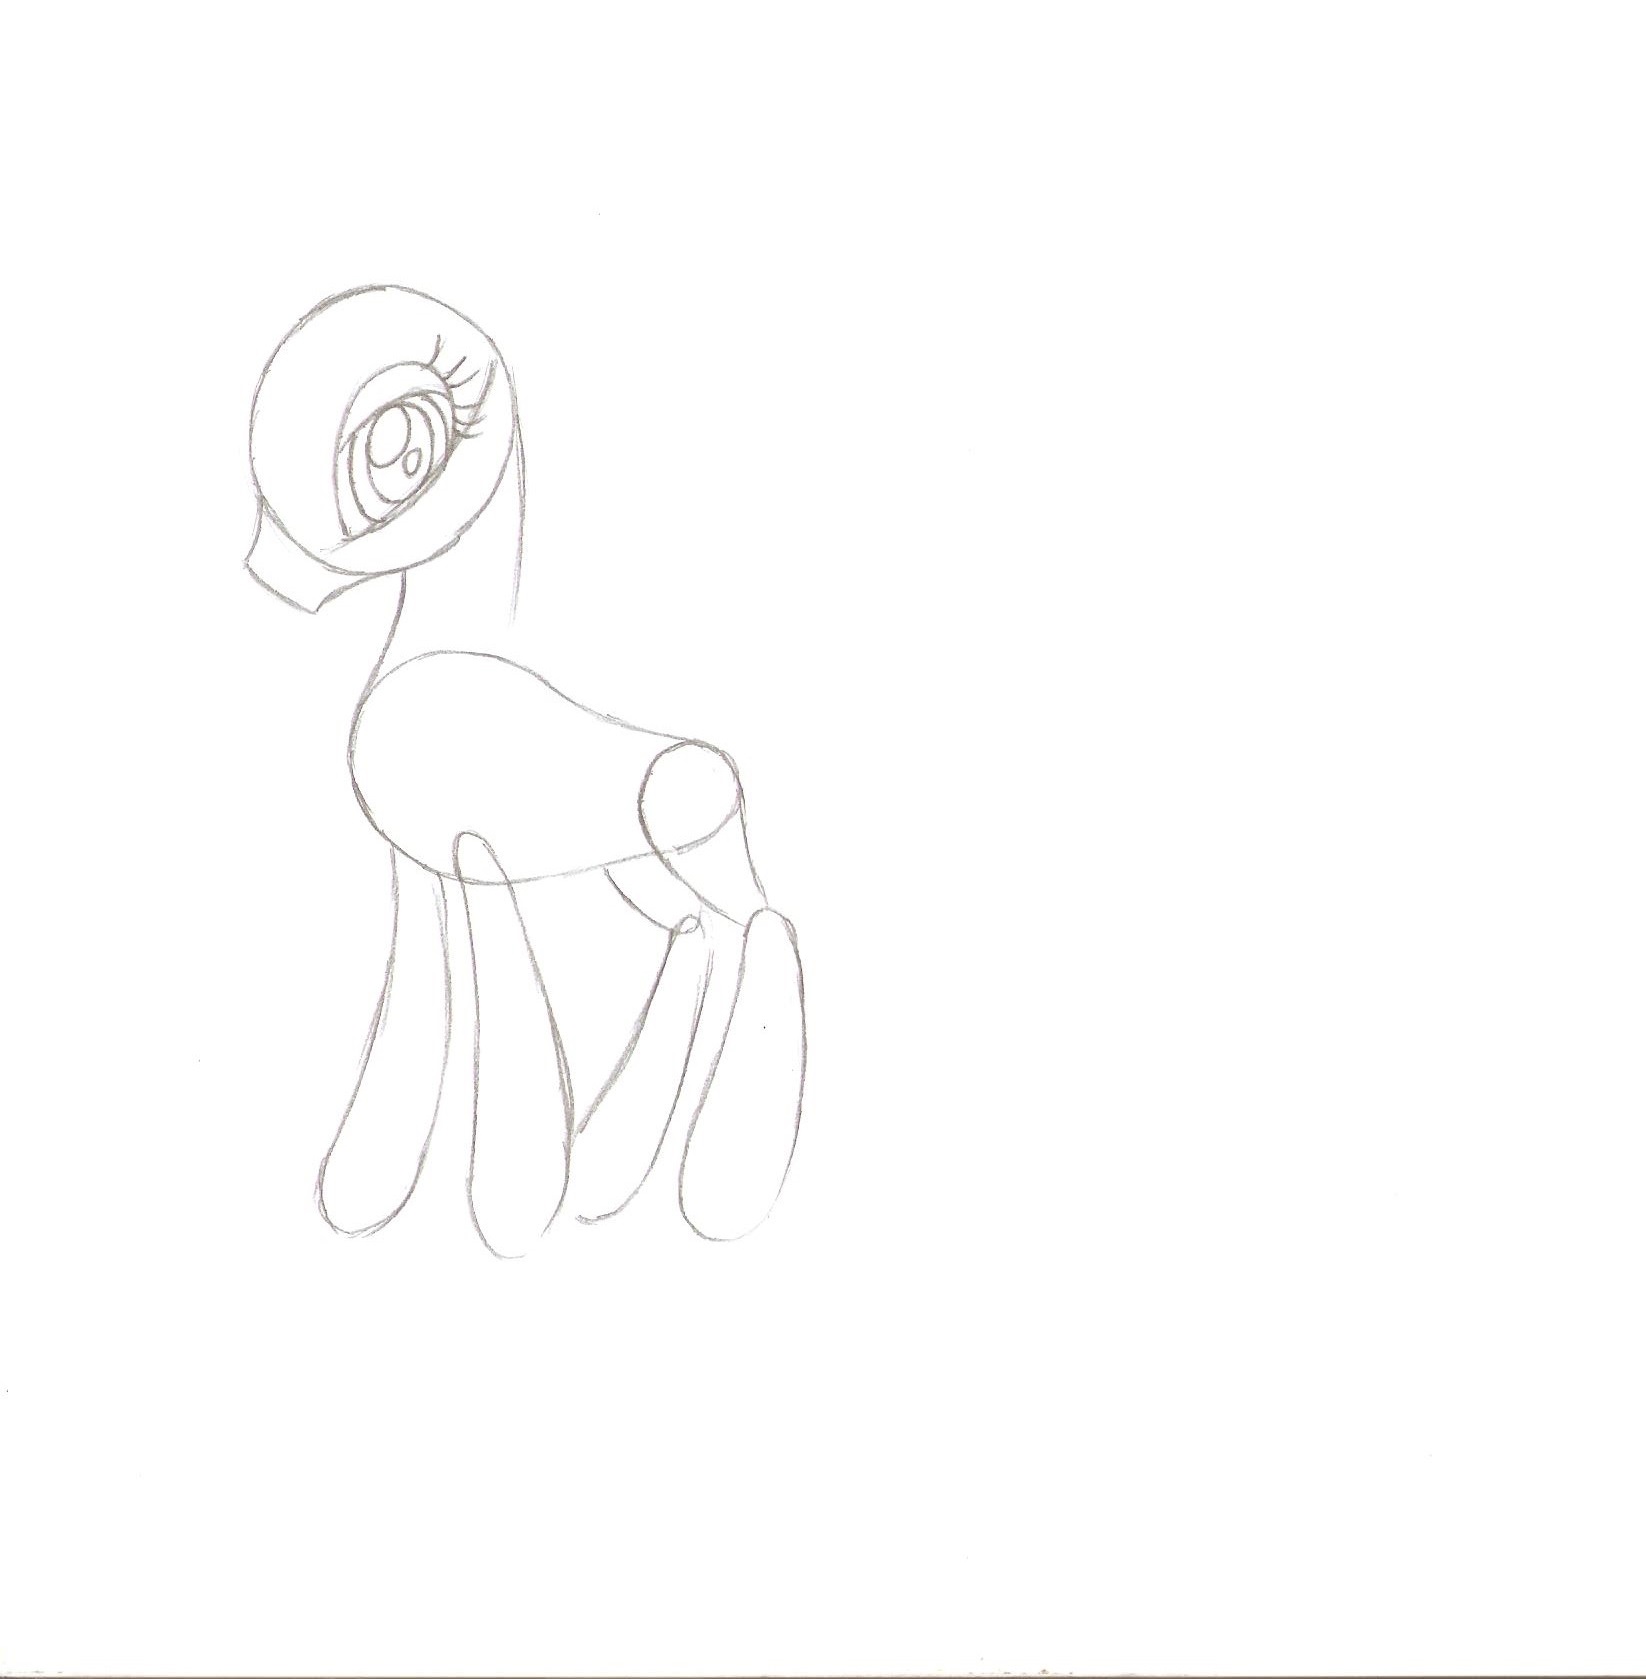
Step 4
Now let's draw the pony's eye. Inside the oval drawn in the last step, we need to place two more ovals on the principle of a nesting doll, draw an eyelid on top and do not forget about a couple of highlights in the pupil. Let's not forget about curved lash lines.
Step 5
Let's outline the outline of a long, thin horn, as well as an ear and a bang line.
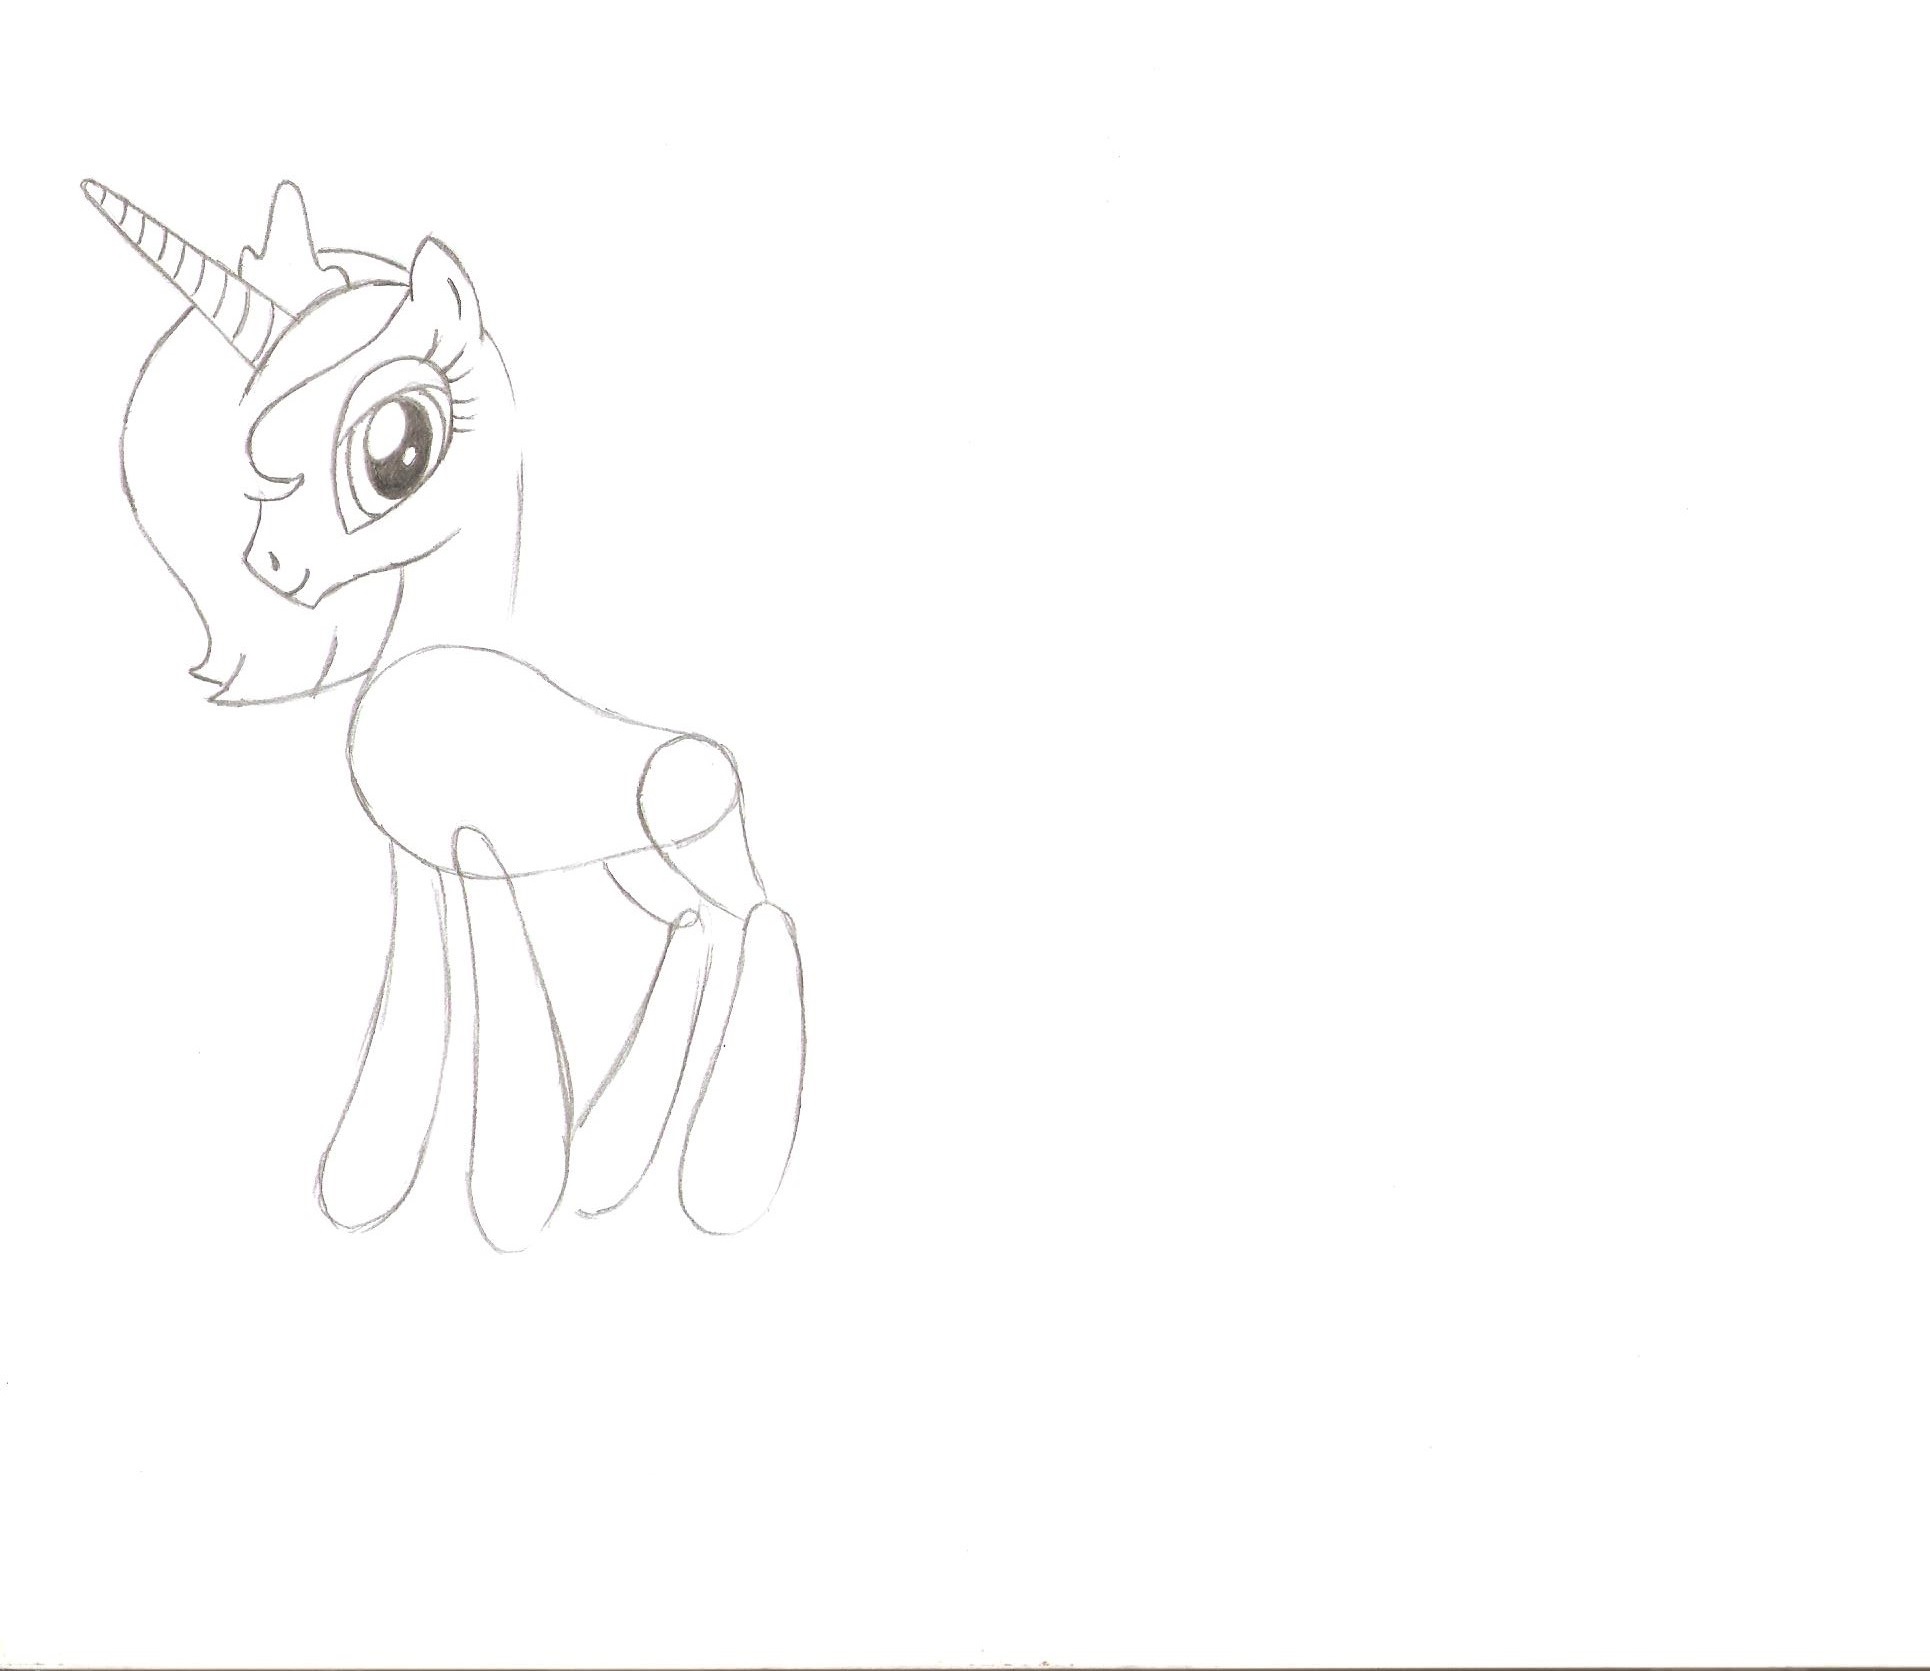
Step 6
We outline the rounded outlines of a lush mane, right behind the horn we denote an elongated figure with three marked edges. Let's draw a couple of dashes that will indicate the mouth and nose of our horse.
Step 7
Erase extra guide lines from the face of Princess Luna. Let's paint over the icon with a soft pencil, not forgetting to leave patches of highlights. Let's draw rounded lines slightly inclined to the side on the horn.
Step 8
Let's draw two strands of hair that go down from top to bottom in the mane area. By the way, hair should be drawn in the direction from the roots to the tips.
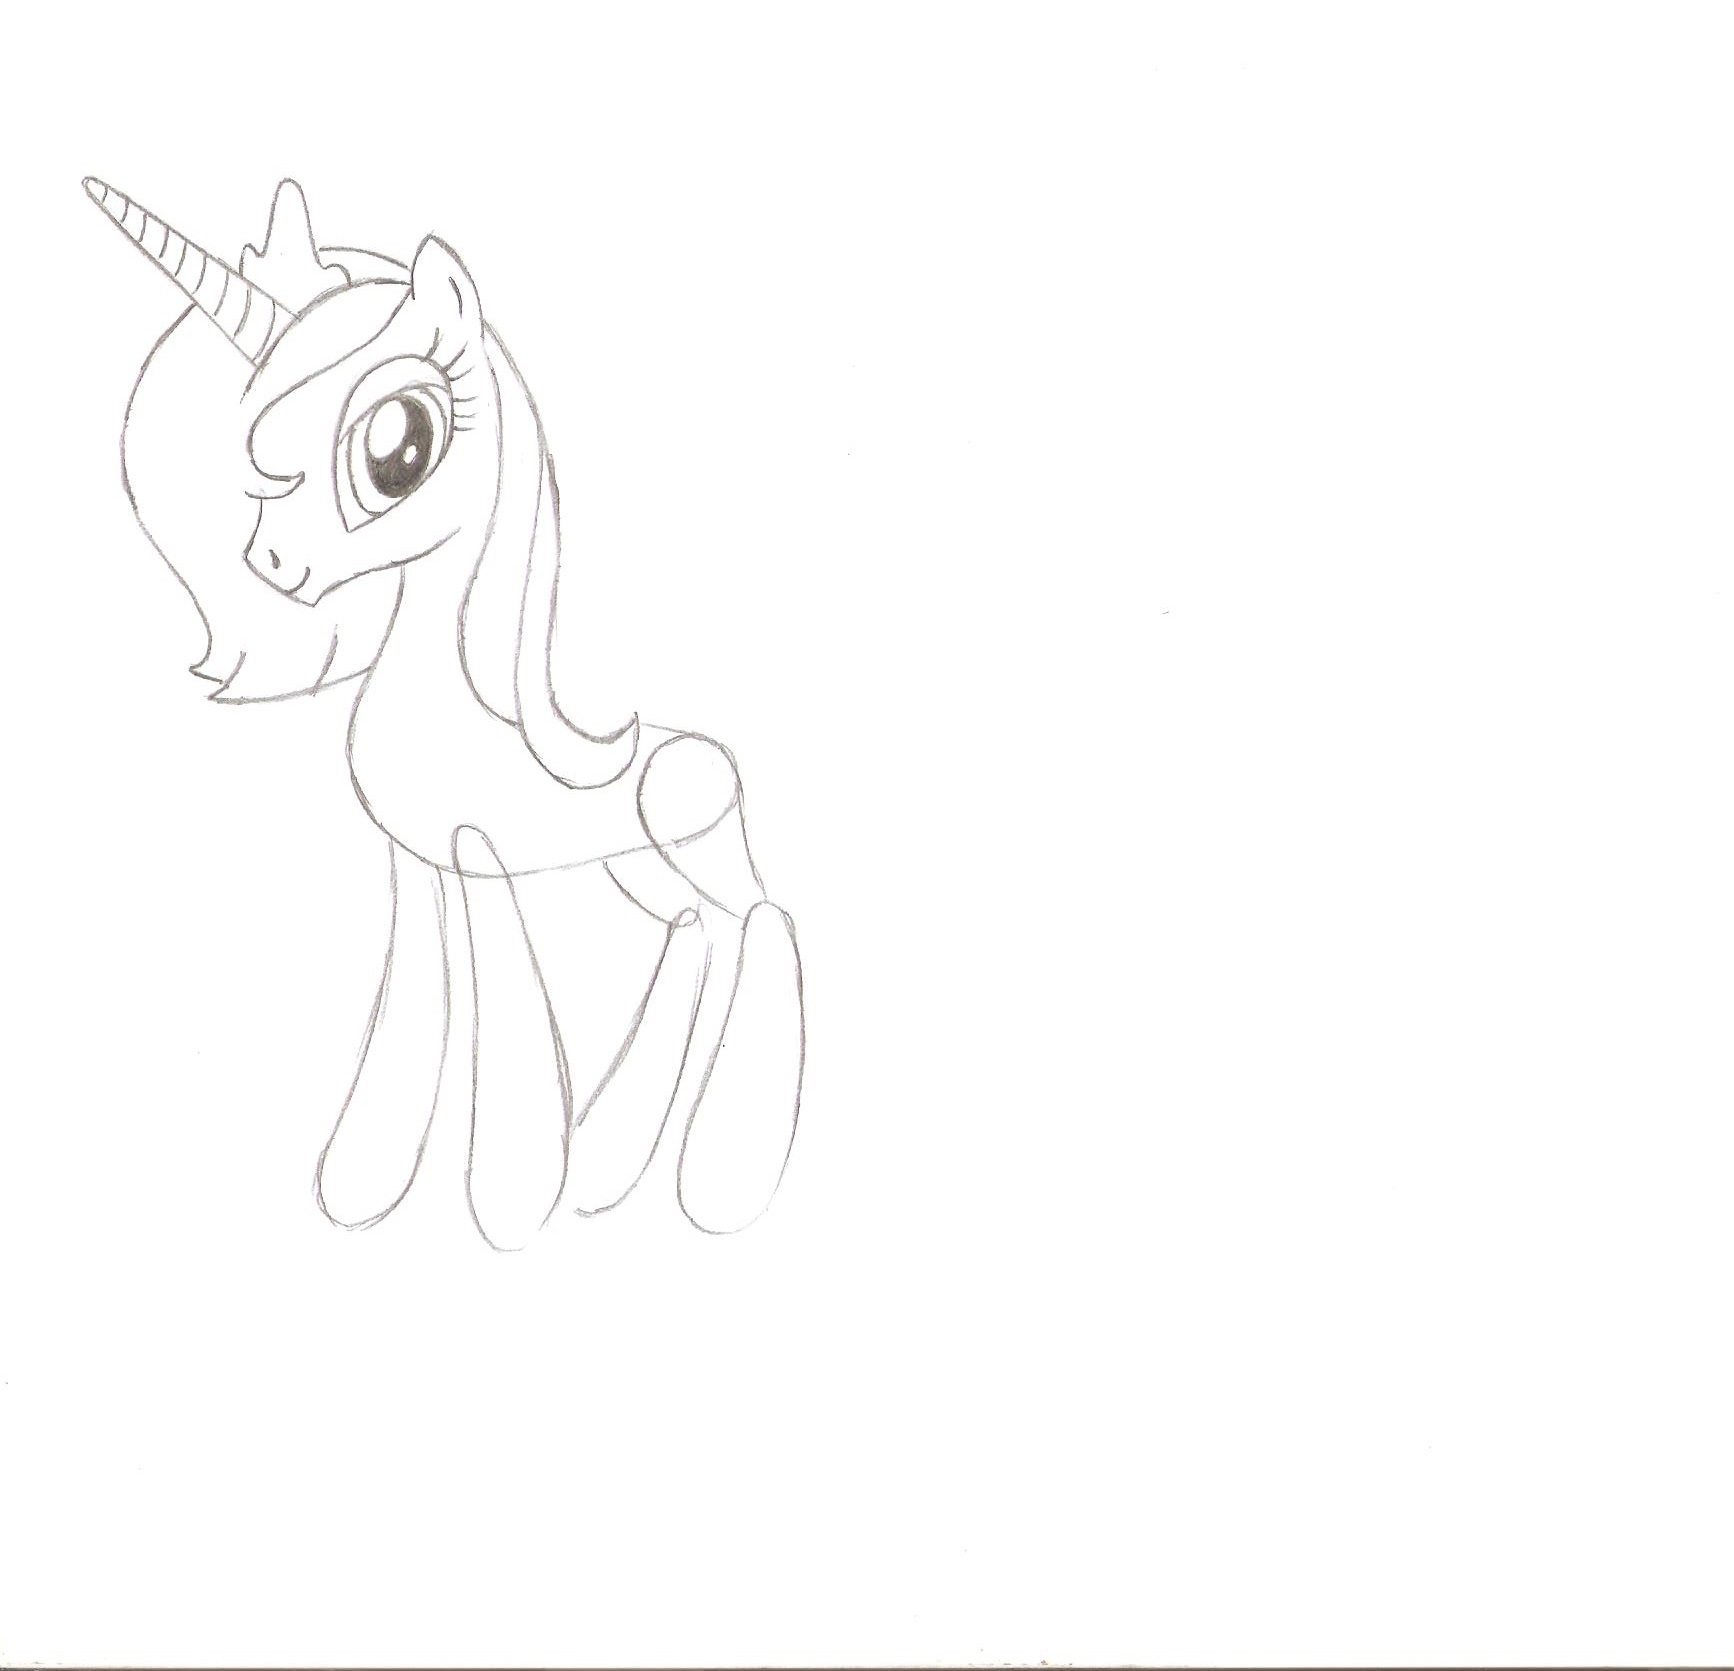
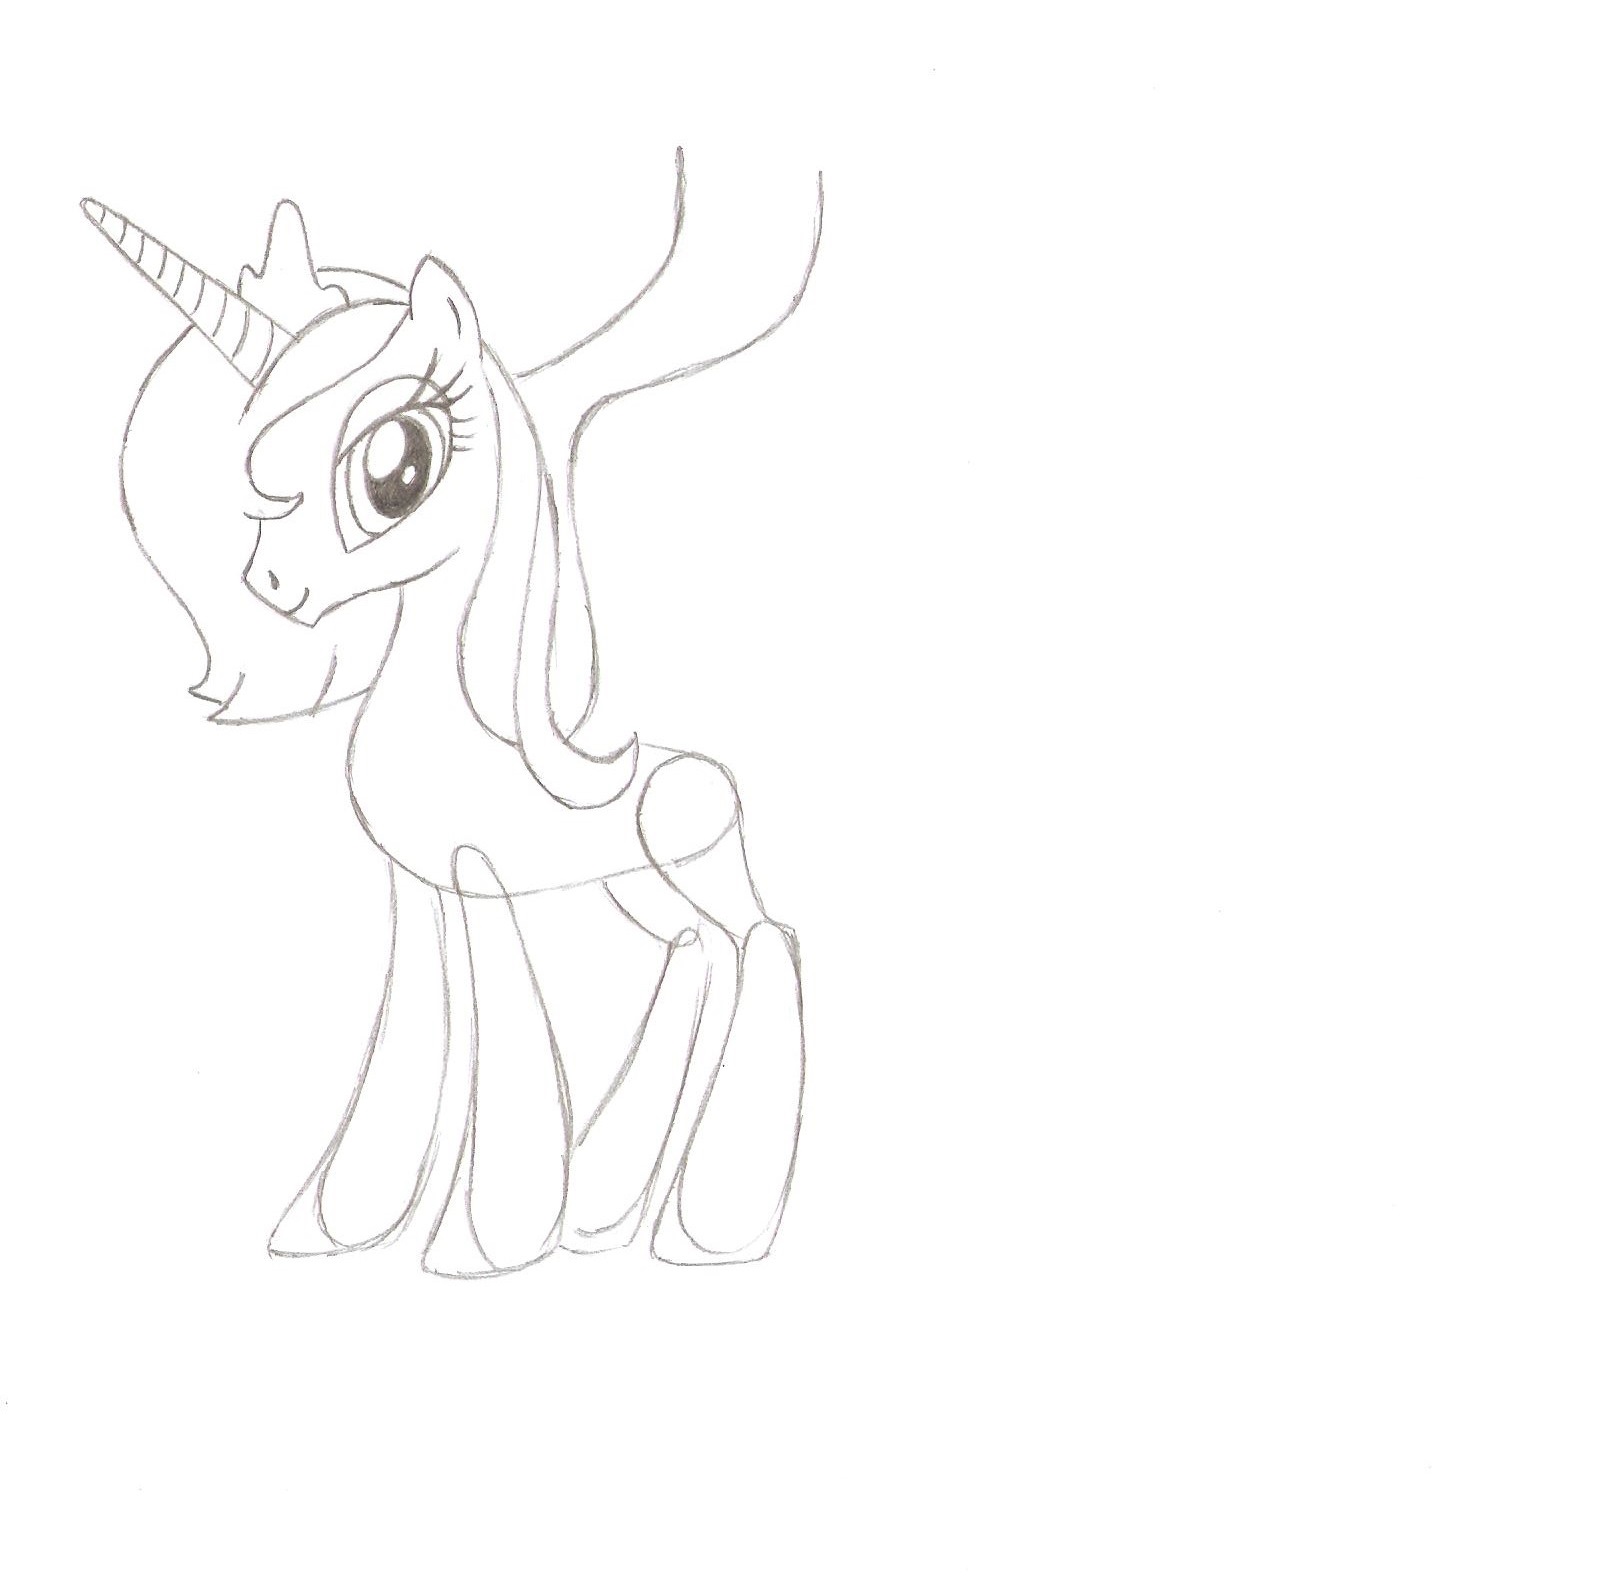
Step 9
Let's outline the lower parts of the legs with an angular contour on one side, outline the guide lines of the wings.
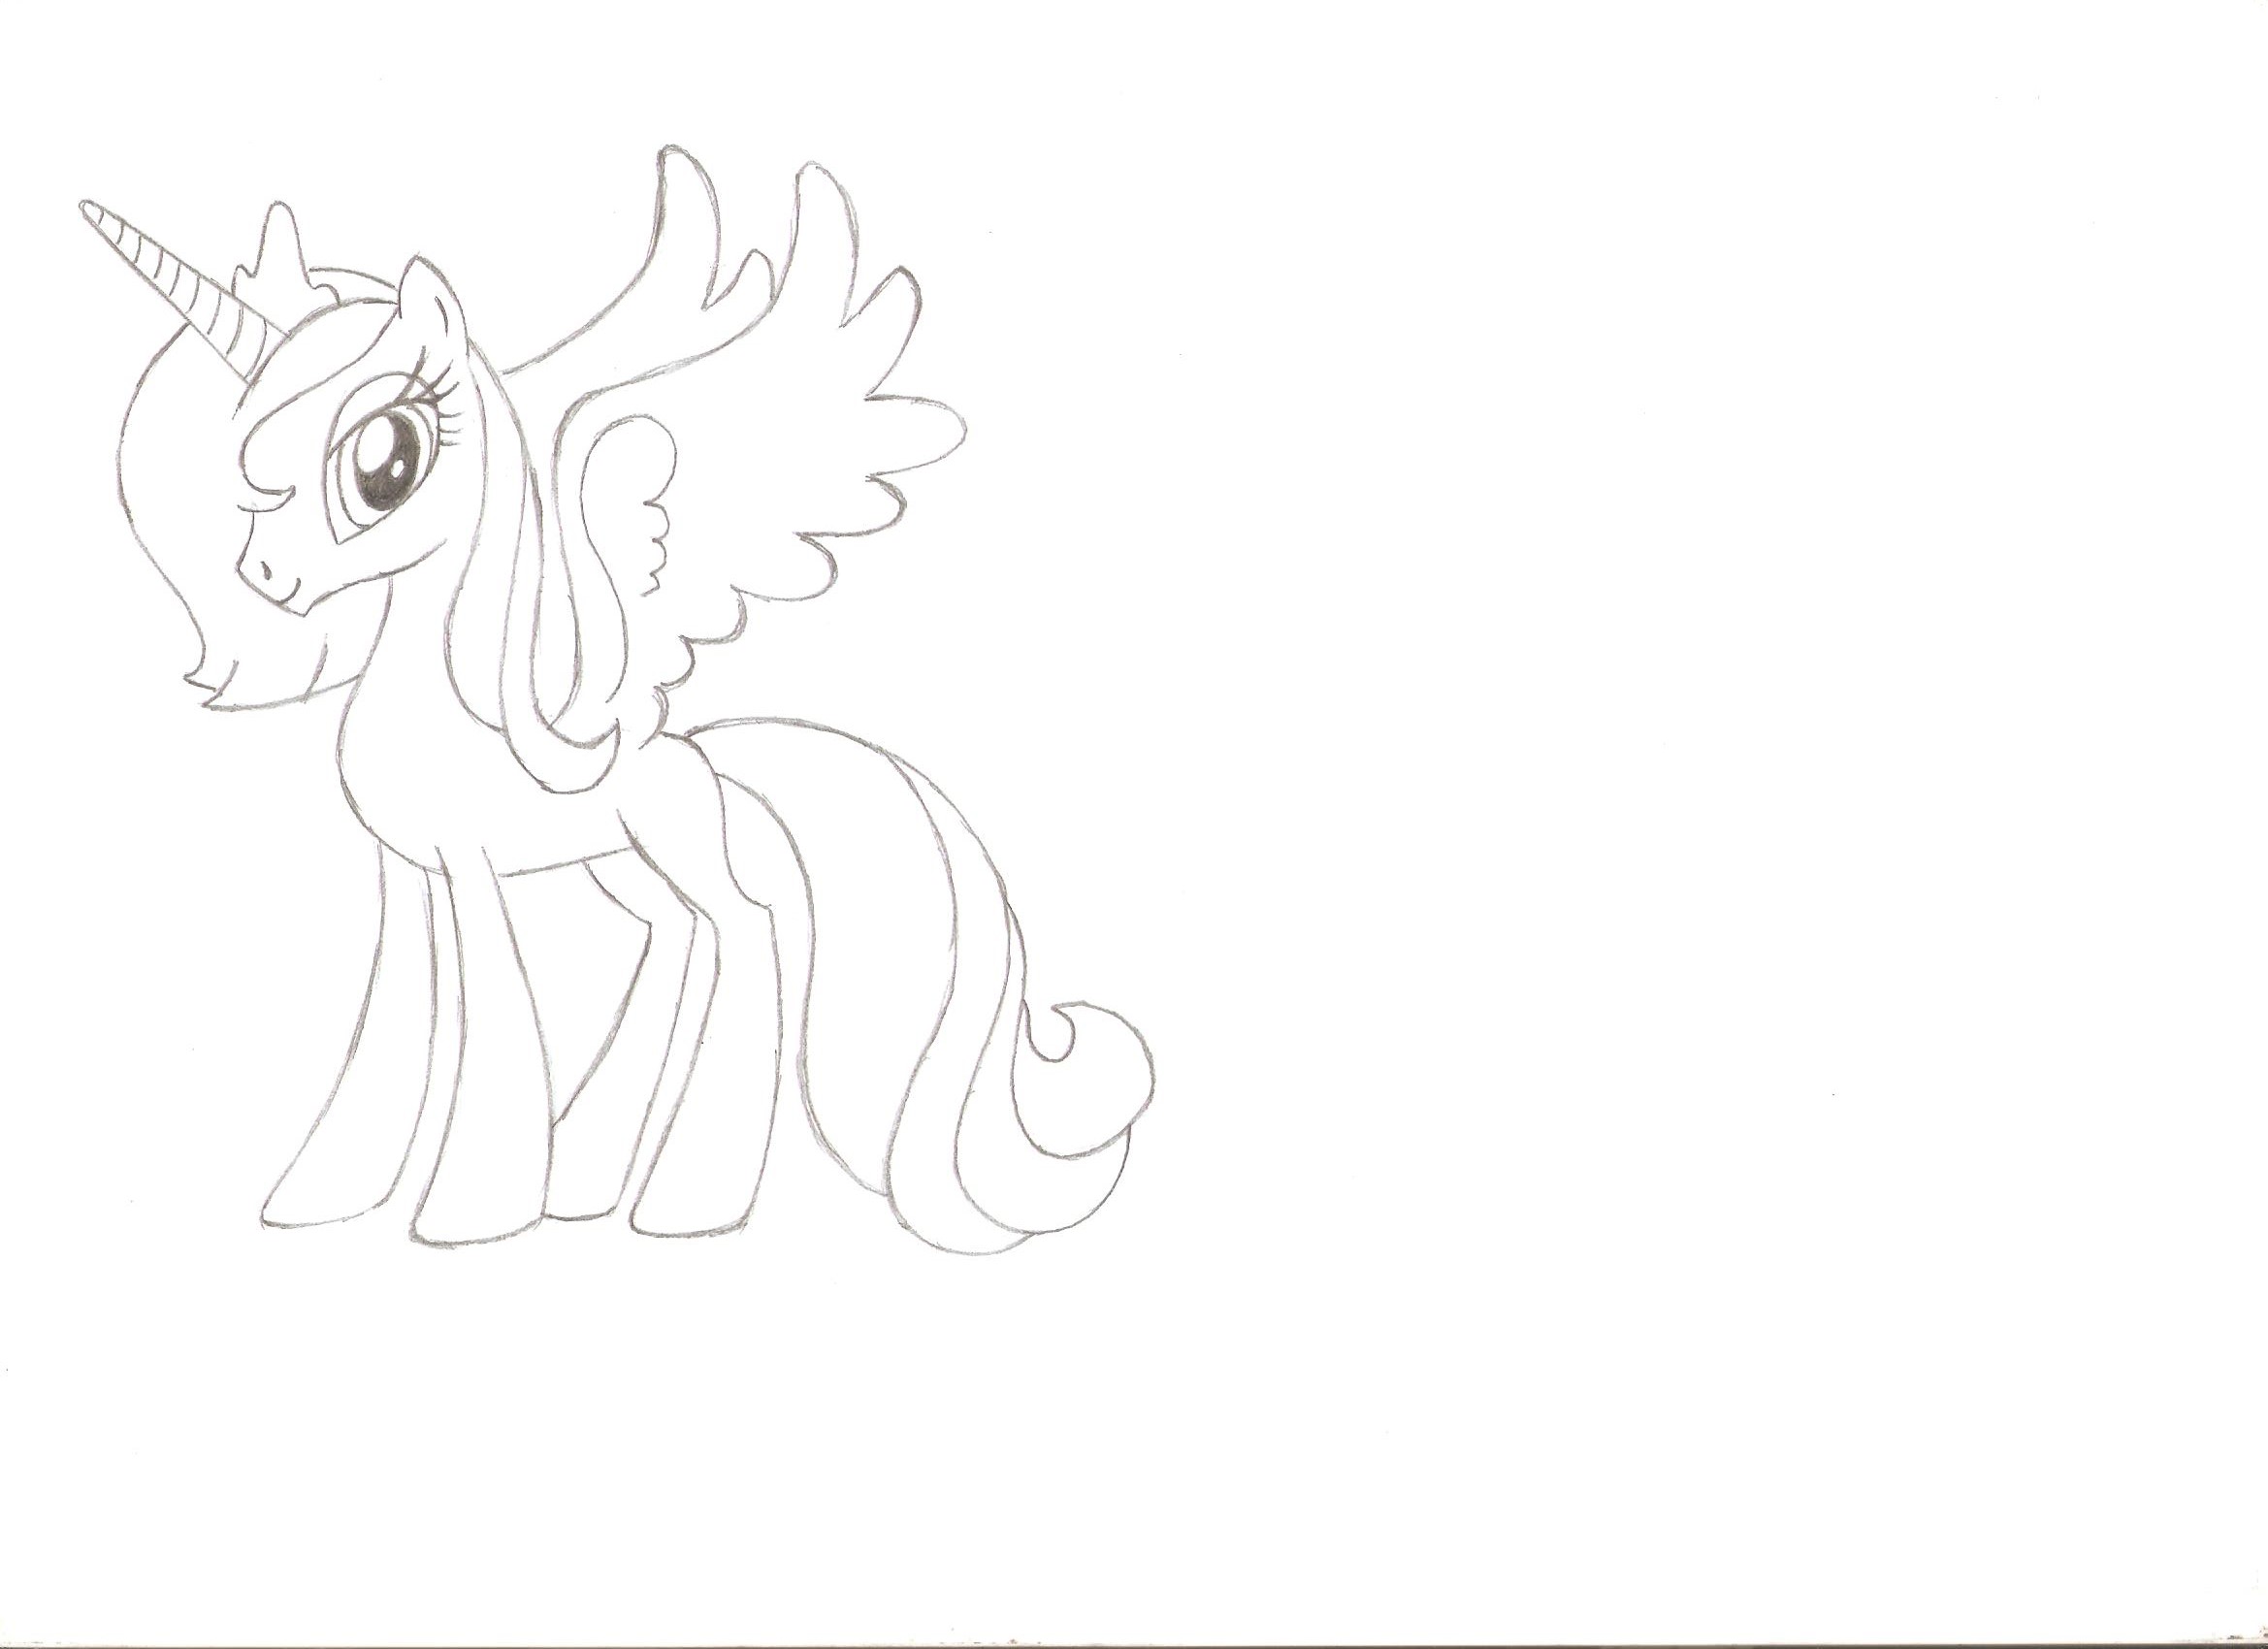
Step 10
Erase the extra lines from the torso and legs, outline the resulting contours. Let's draw wings with edges consisting of small rounded shapes. Note that the size of these figures increases towards the upper wingtips, and the frequency of their location in that direction, on the contrary, decreases.

Step 11
Let's draw a lush, voluminous tail. Start with a contour, and then mark the inner lines. Draw in the direction from the roots of the hair to their ends.
Step 12
Let's finish our pony drawing by applying details - patterns in the form of the moon and stars on the body and hips, as well as curlicue patterns on the hooves.
This was pony drawing lesson Princesses of the Moon, which was prepared for you by the artists of the site Drawingforall. All the best to you, come to us for new cool drawing lessons!